Navigating the Reporting Portal
The restaurant portal provides the critical financial and sales data needed for accounting, reconciliation, and high-level operational reviews. This guide will walk you through how to access the portal, customize your data views, and export filtered reports to track every dollar of your catering revenue.
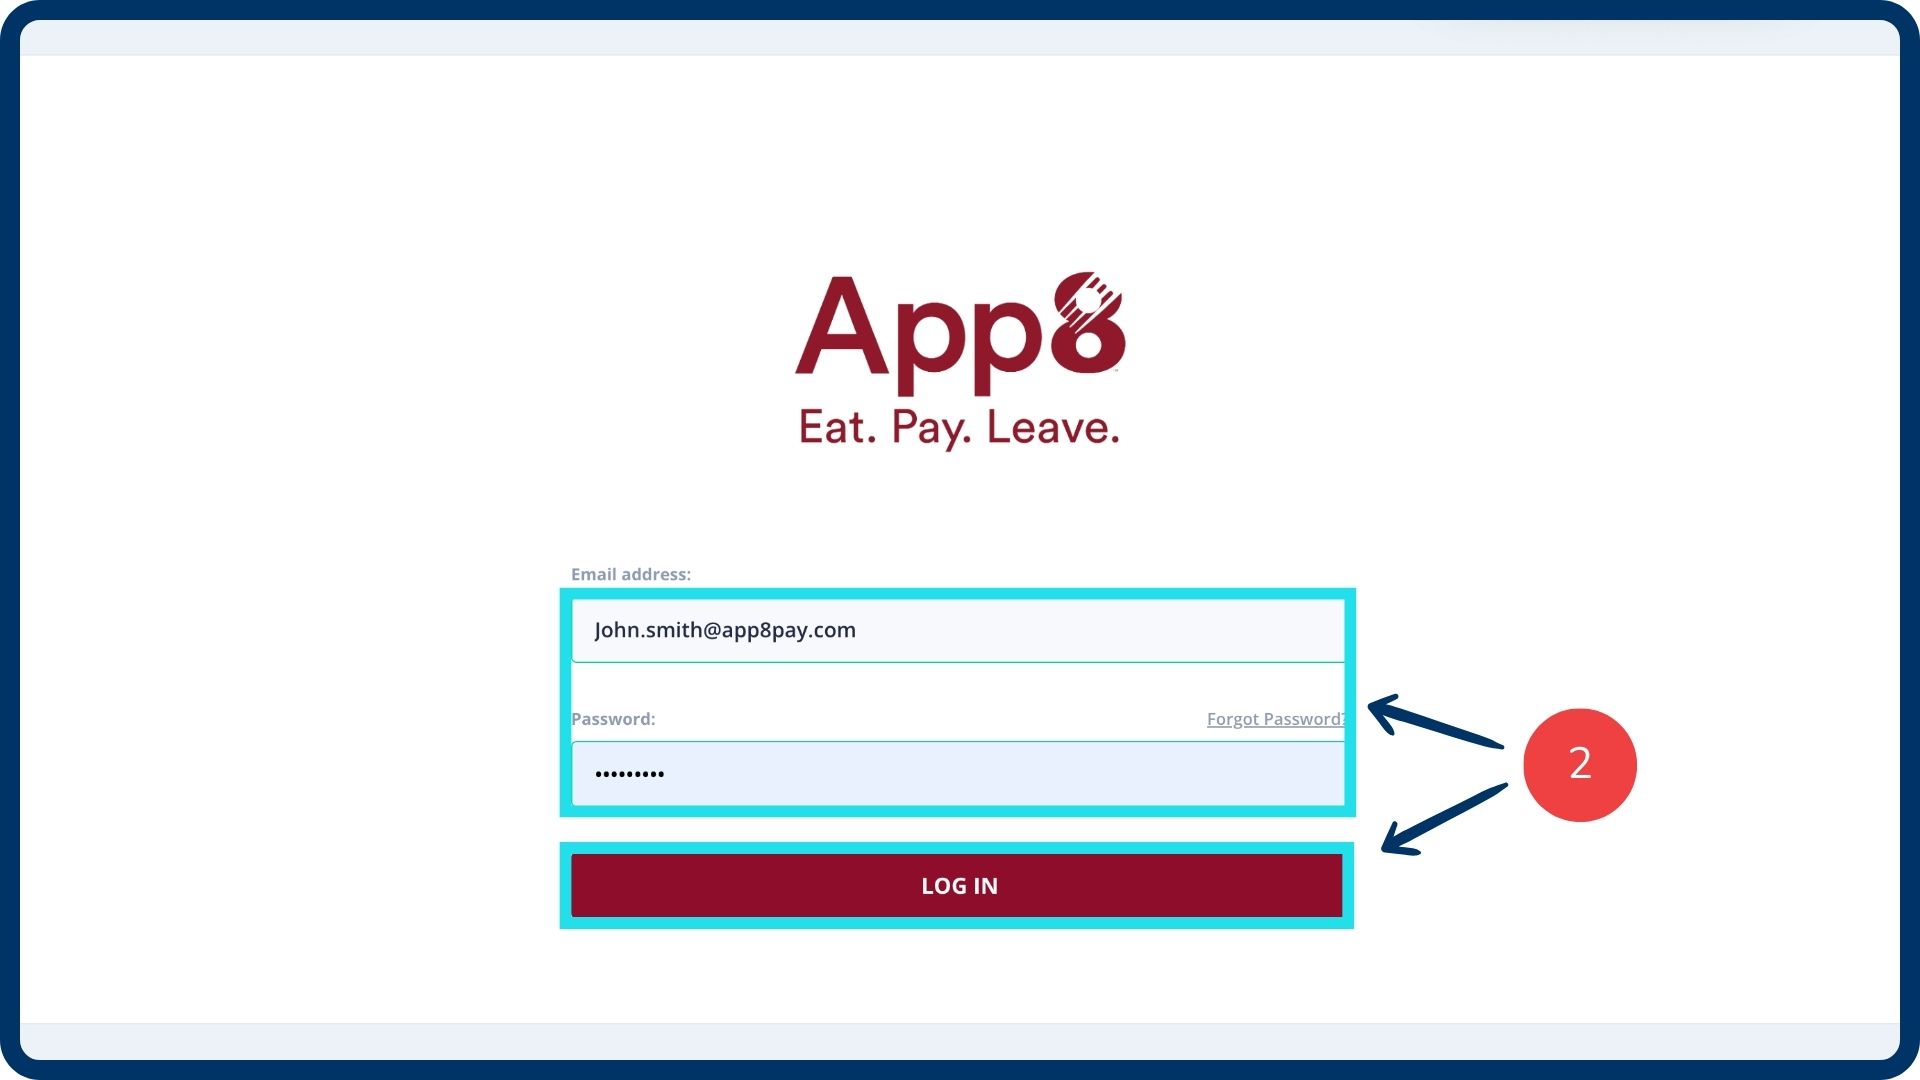
Log into the Reporting Portal
Go to the Reporting Portal.
Enter your credentials and login.
The restaurant portal can also be accessed from the Menu Manager.
Navigate to the catering report
From the left sidebar, navigate to the “Reports” section.
Within the reports menu, select the “Catering” report tab.
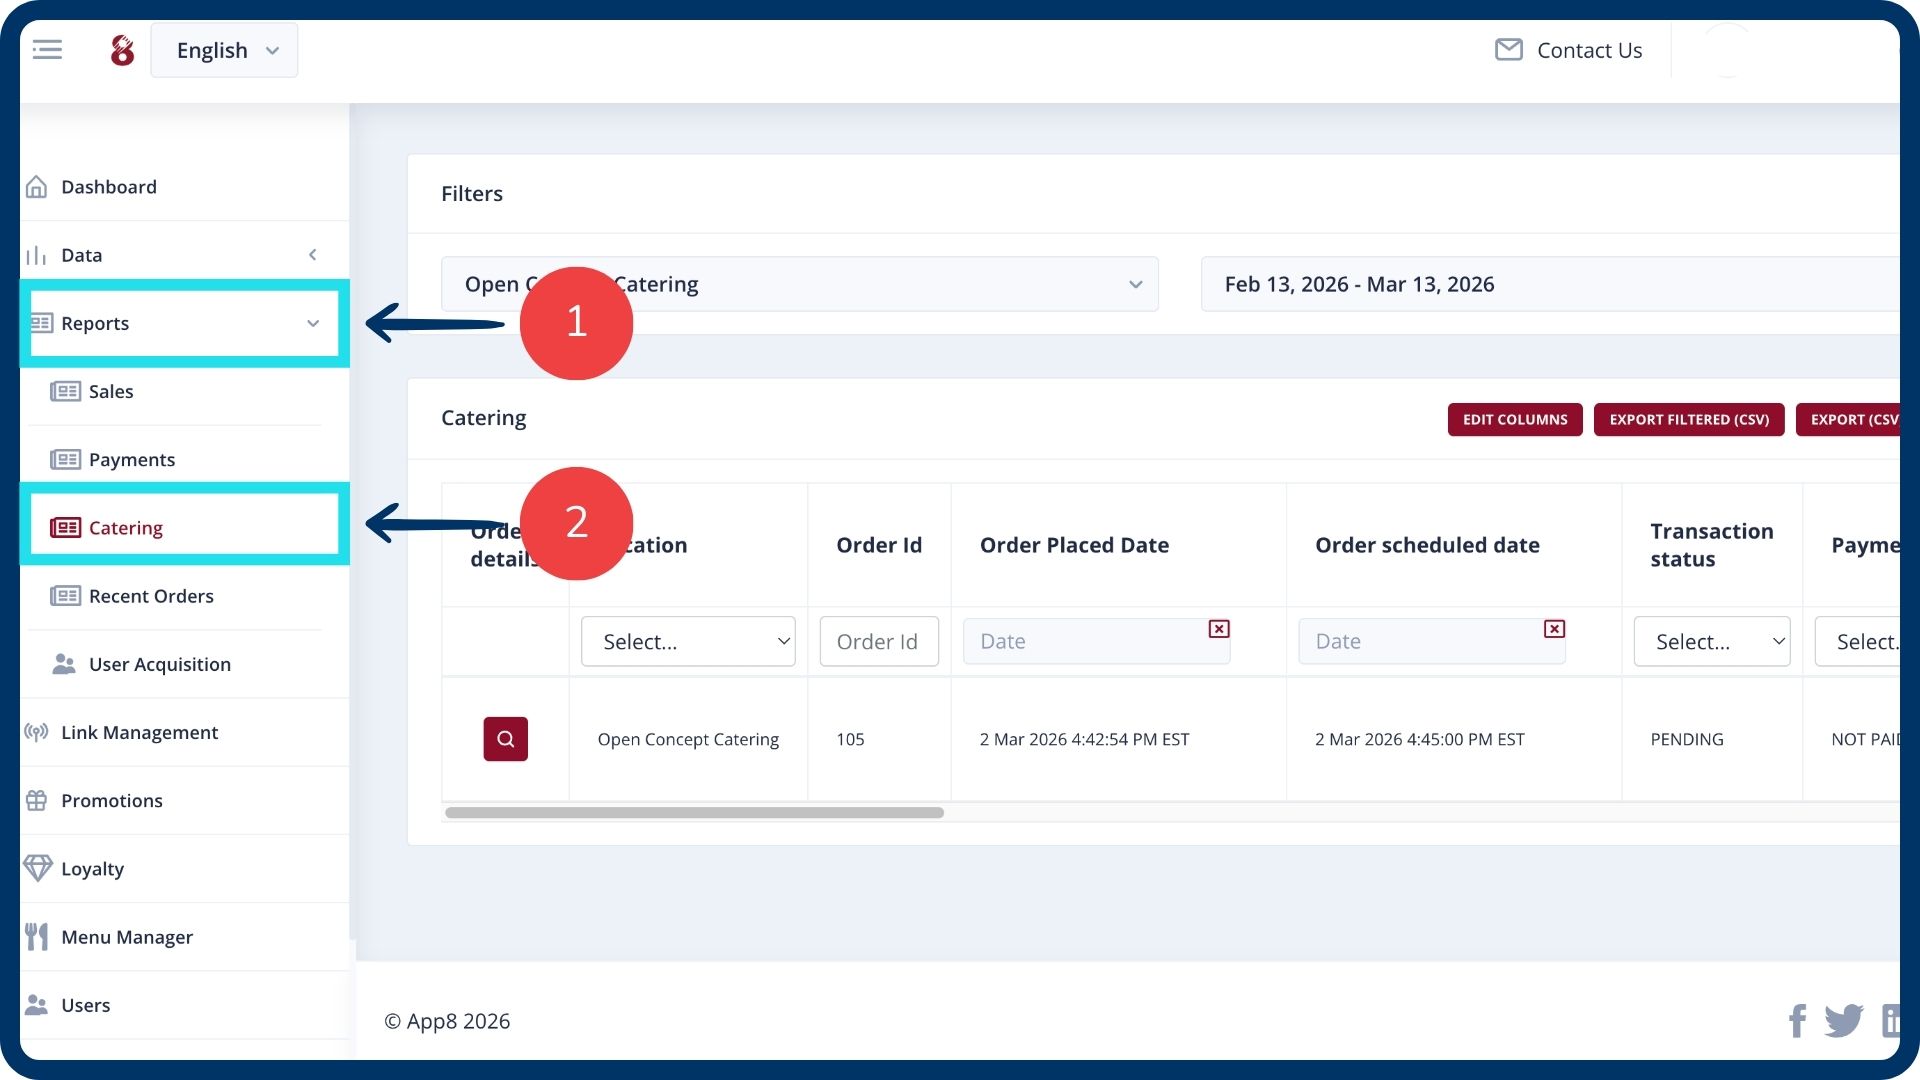
Set your date range
Select your desired date range at the top of the screen. The report will display all catering orders processed during this period.

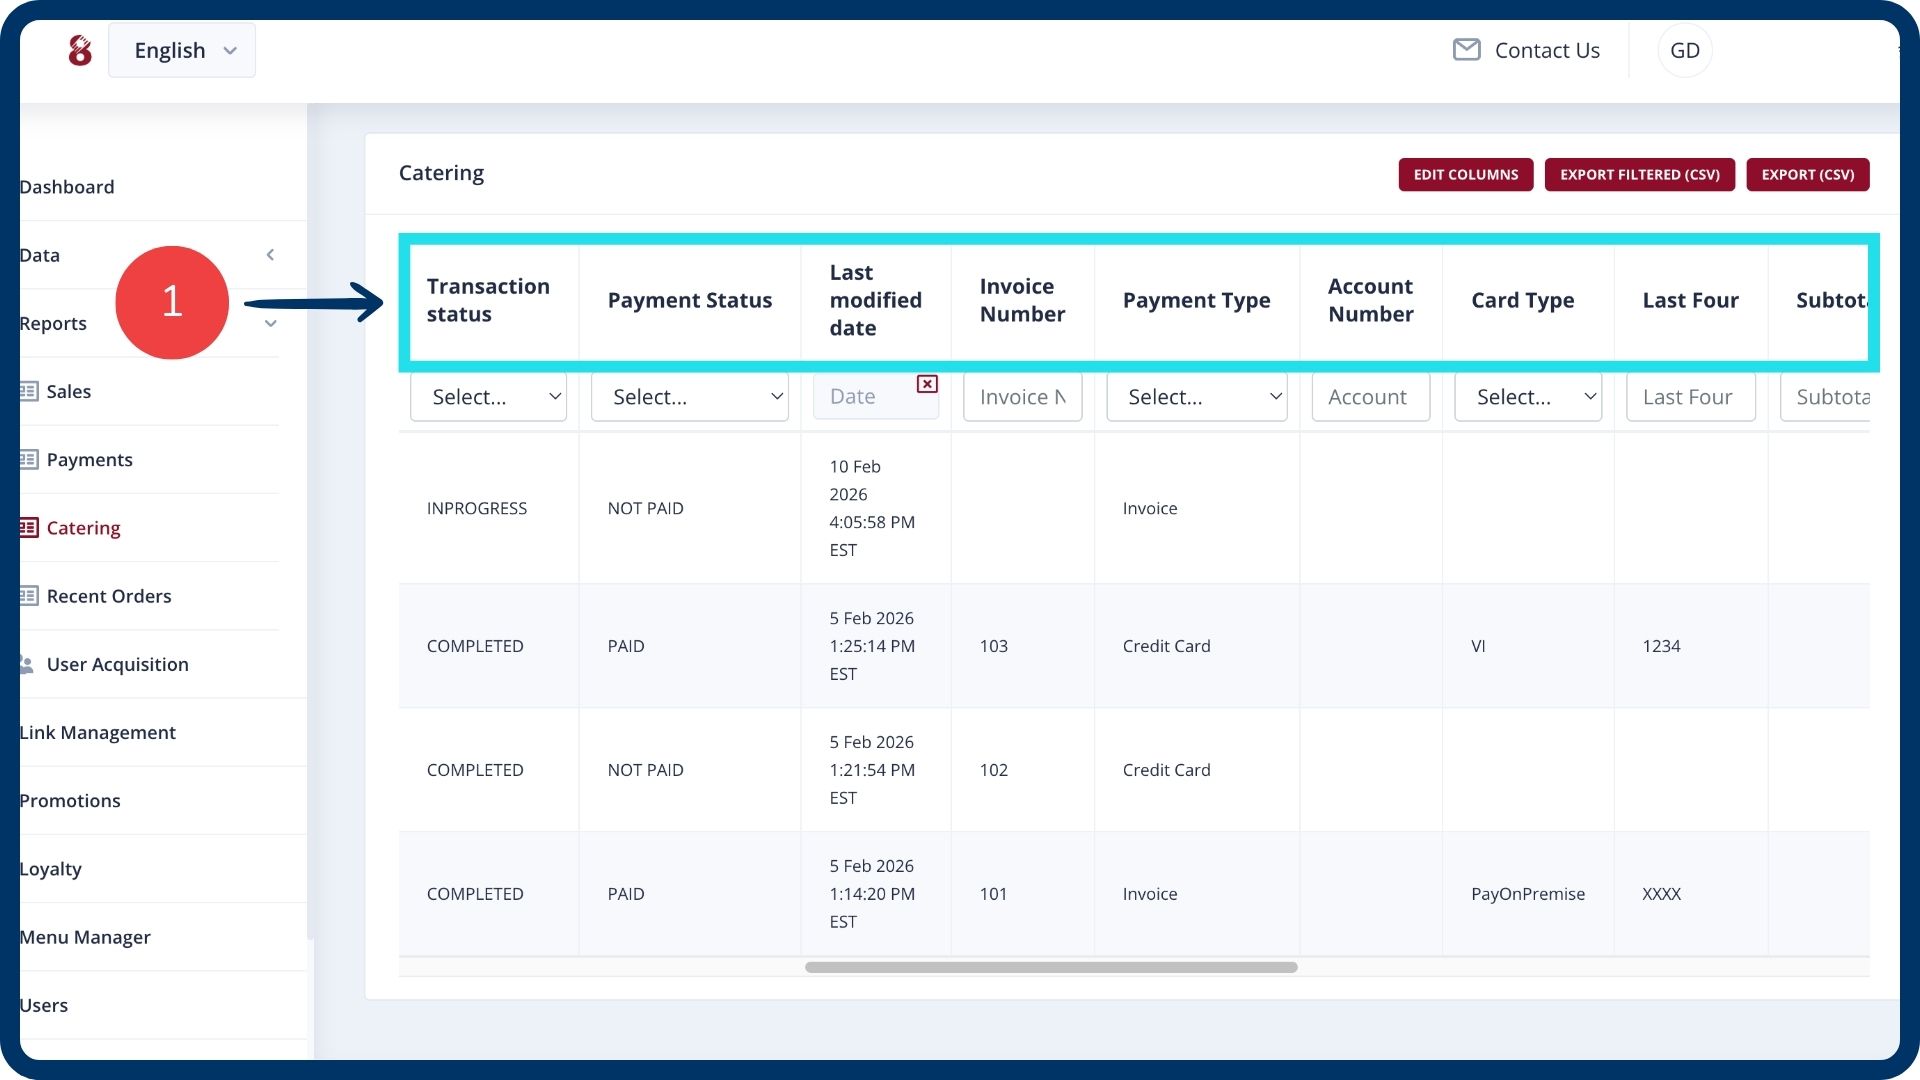
View and reconcile financial data
Use the catering report table for financial reconciliation. Each row represents a specific catering order and provides extensive details, including:
Order status: View if the order is completed, rejected, or pending.
Payment details: Review the payment type used (invoice or card) and the last four digits of the card.
Financial breakdown: View the subtotal, applied discounts, delivery fees, service fees, taxes, and tips.
Payment status: Track if the order is paid, unpaid, or refunded.
Track and update the status of requested deposits
Click the "Order details" icon for the specific order.
- Click the "View deposit" button to view the deposit request details.
- Click "Apply payment" to mark the request as paid once you have confirmed receipt of the funds.

Manage invoices and final payments
Click the "Order details" icon. Once an order is in a completed status, an "Invoice" button will appear.
- Click the "View invoice" button to view or download the document.
- Click "Apply payment" to mark the invoice as paid once the client has successfully paid for the order.

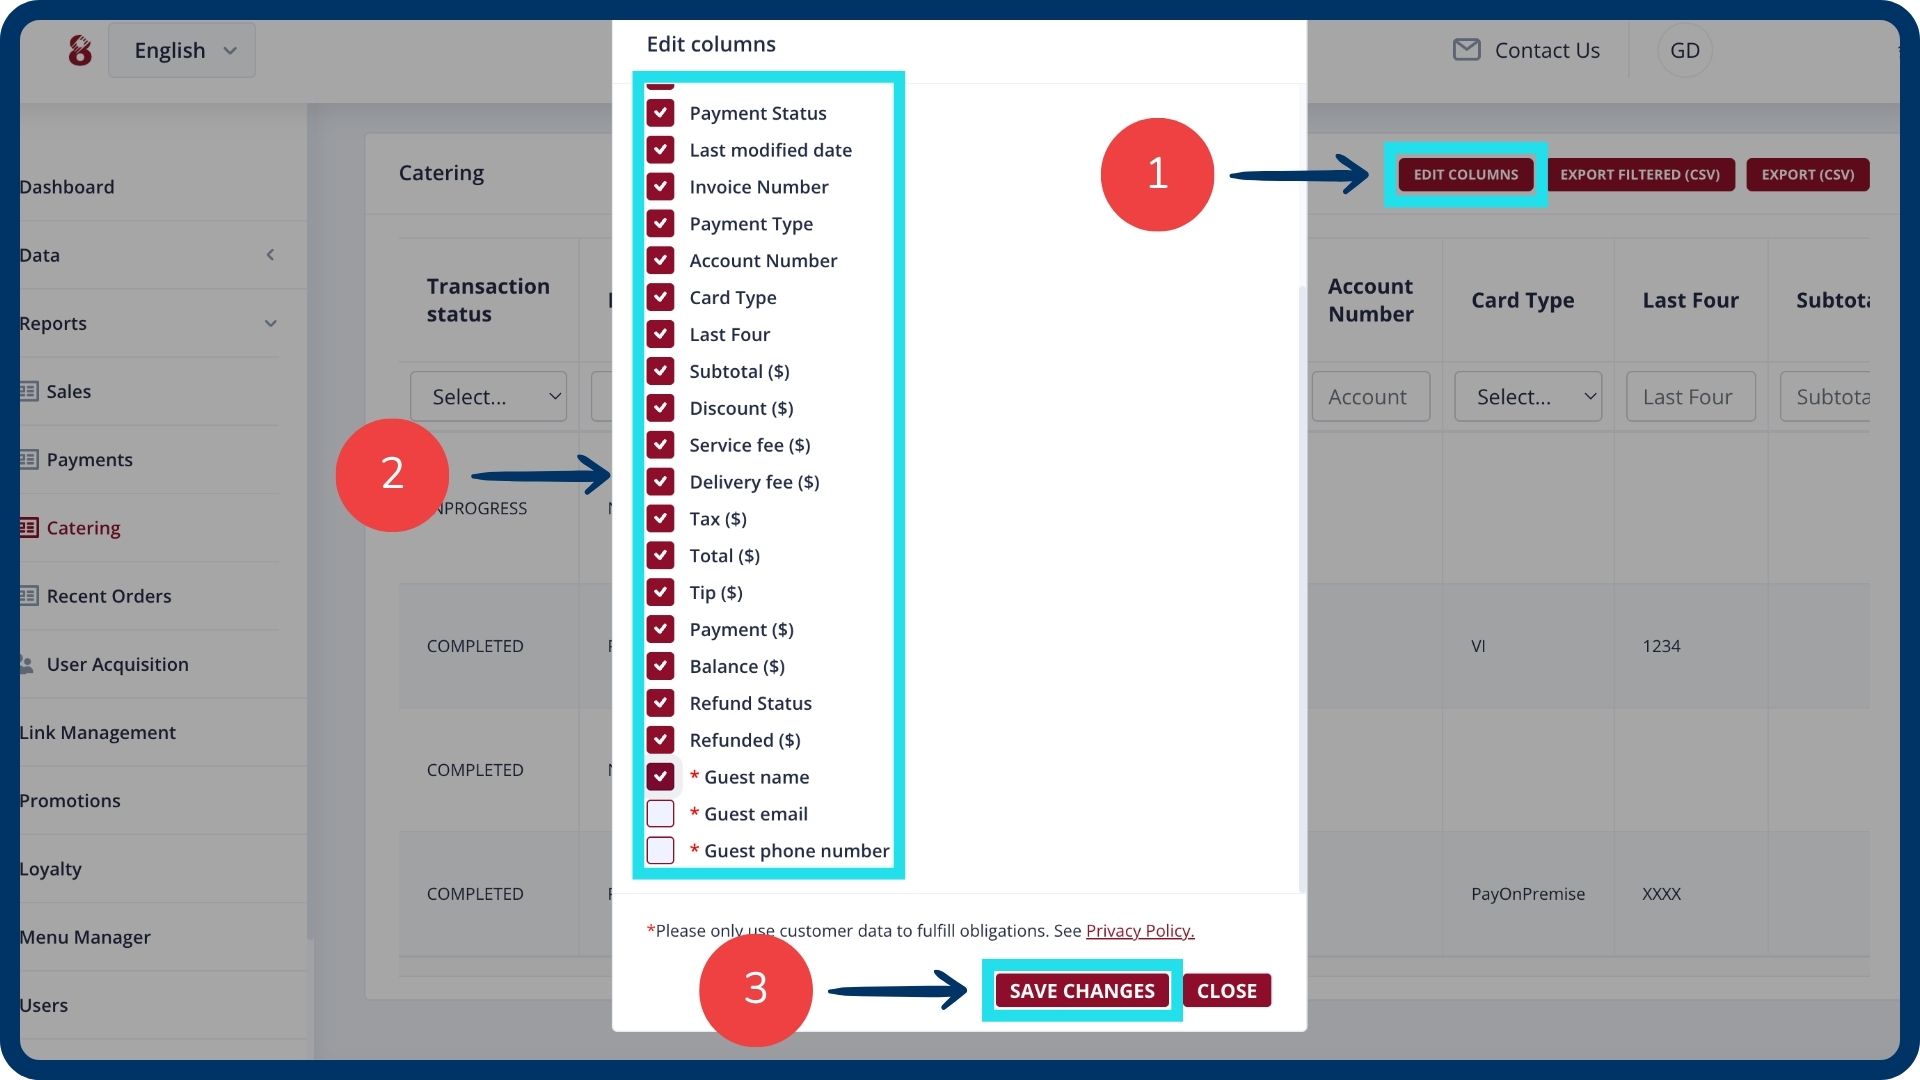
Customize your report view
Click the “Edit columns” button.
Select the fields you wish to track (e.g., guest name or guest email).
Click “Save changes” to update your view.
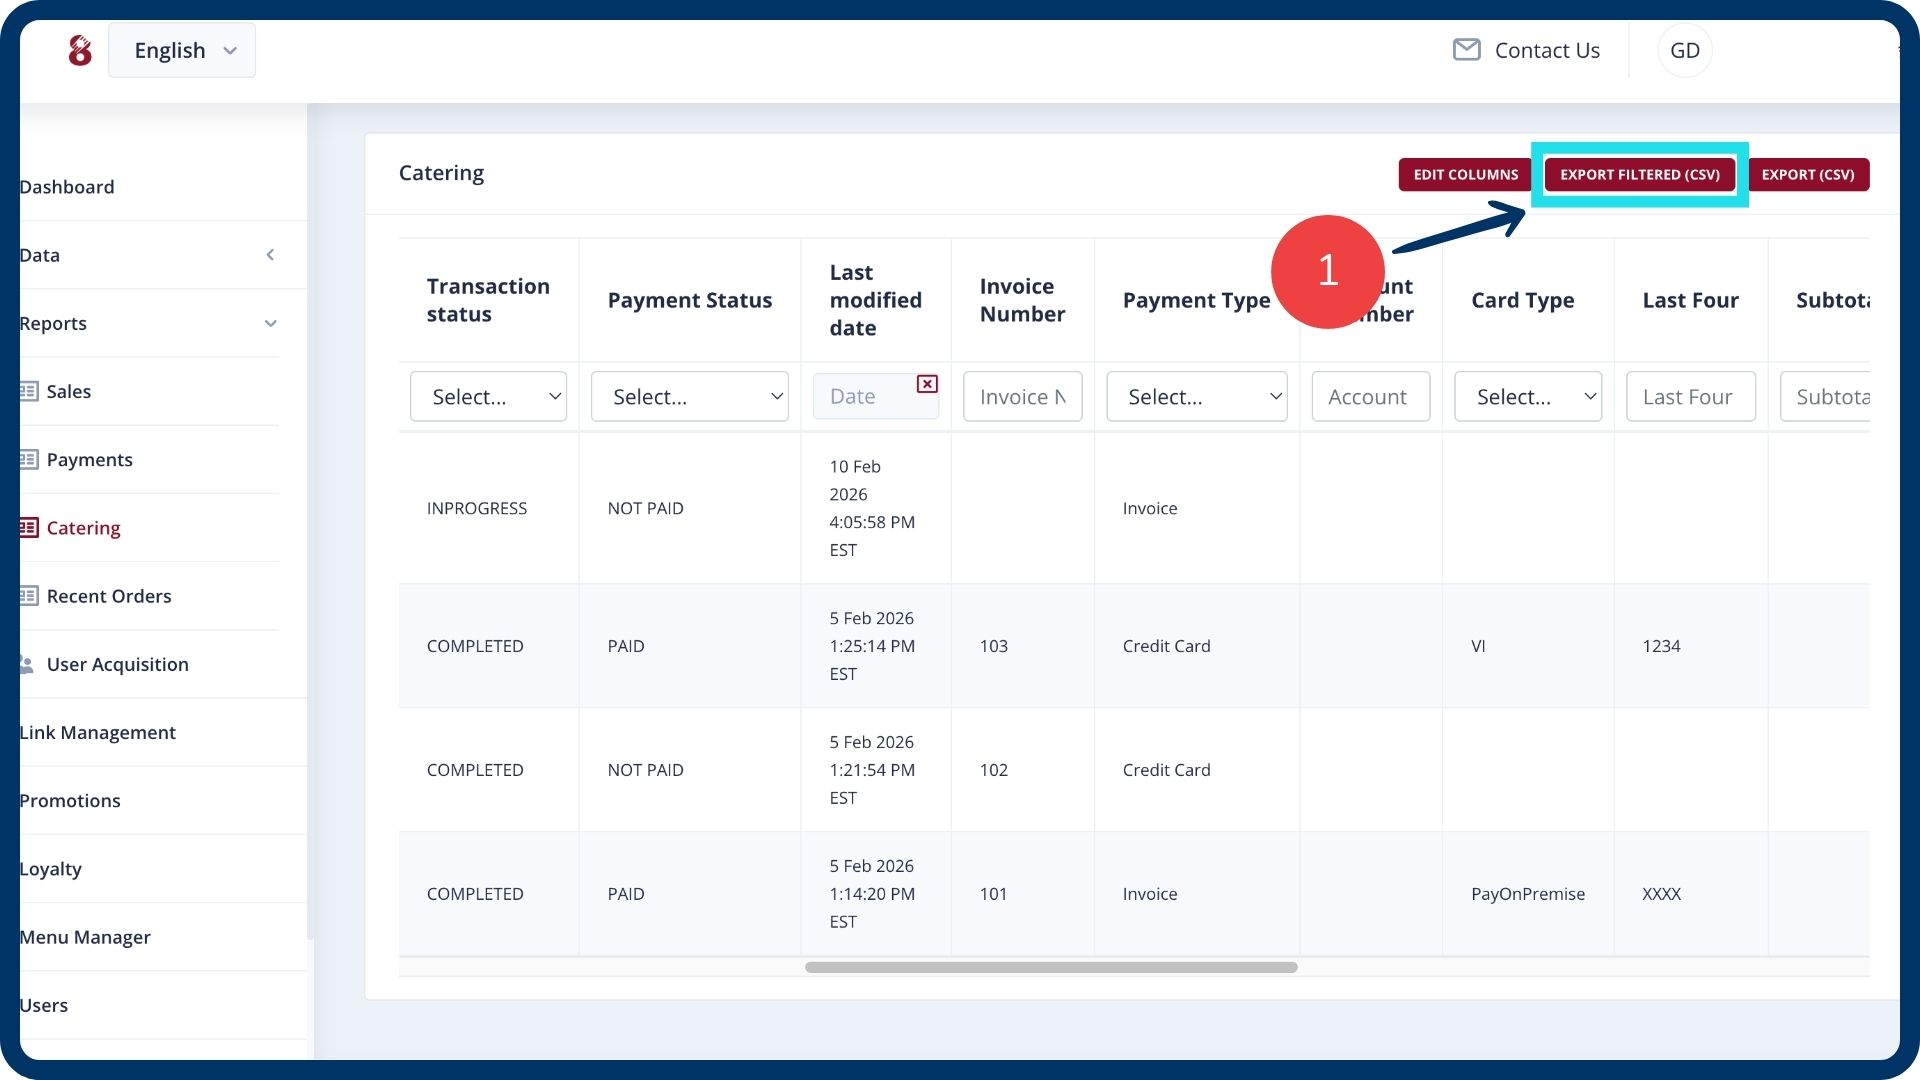
Export filtered data
Click the “Export filtered (CSV)” button.
The system will download a report containing only the specific data points and date ranges you have selected.
Was this article helpful?
That’s Great!
Thank you for your feedback
Sorry! We couldn't be helpful
Thank you for your feedback
Feedback sent
We appreciate your effort and will try to fix the article