Creating a menu
Adding a menu is the first step to offering a seamless ordering experience. This guide will walk you through setting up a new menu, configuring availability, and adding key details like descriptions and images. Follow these steps to ensure your menu is properly set up and ready to go live!
Log into the Menu Manager
Go to the Menu Manager.
Enter your credentials and login.

Access menus
Select "Menus" from the left sidebar.
Click the "Create menu" button.

Create a new menu
Enter a menu name and upload an image.

Set menu availability
Enter your all week hours if they remain the same 7 days a week.
Enable the "Set individual hours for each day" toggle if your hours vary daily.
Set hours for each day and uncheck the box for days when you are closed.

Choose menu type
- Select the appropriate "Menu type" (e.g., Takeout, Dine in, or both).
- If you select Take out, you will need to configure the settings.

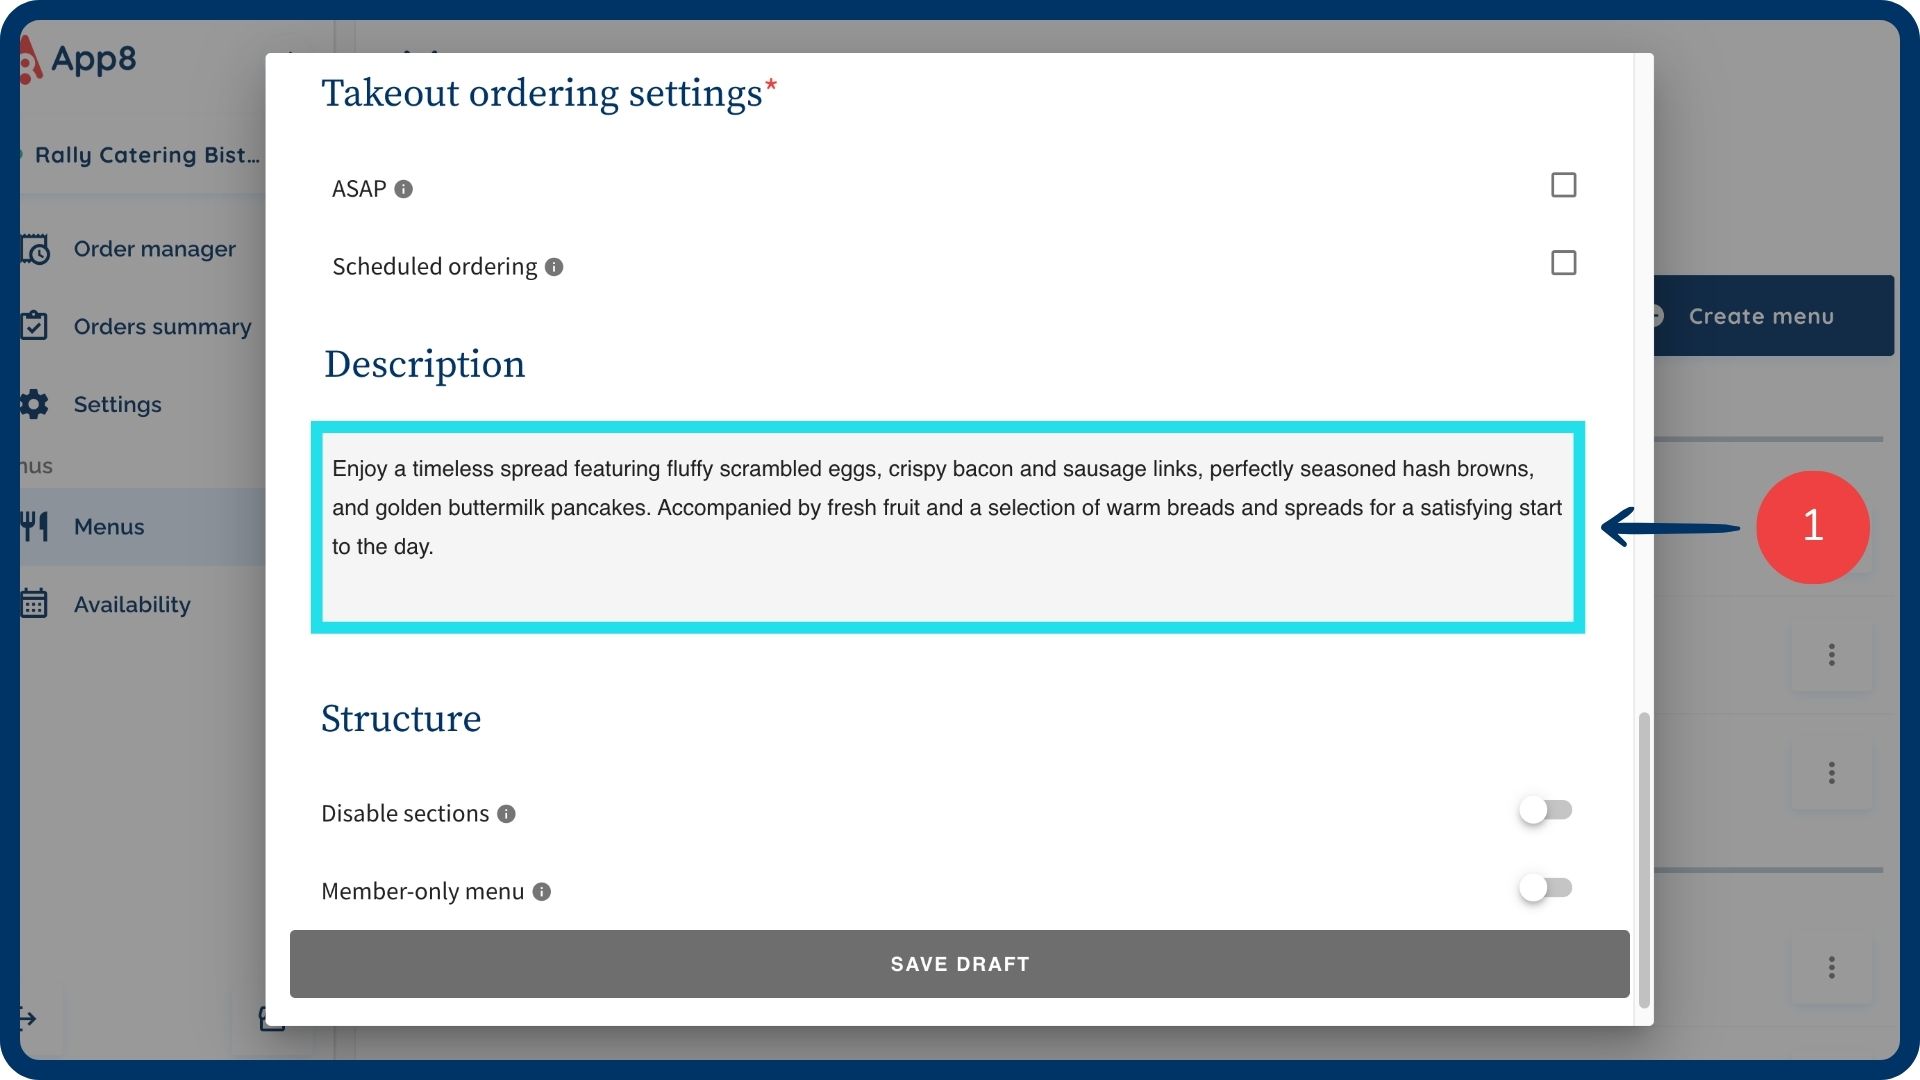
Add a menu description
Provide a brief description of the menu.

Save your changes
- Click "Save draft" to save the menu.

Was this article helpful?
That’s Great!
Thank you for your feedback
Sorry! We couldn't be helpful
Thank you for your feedback
Feedback sent
We appreciate your effort and will try to fix the article